Insights
How Roof Insurance Claims Work in Colorado: A Homeowner’s Guide
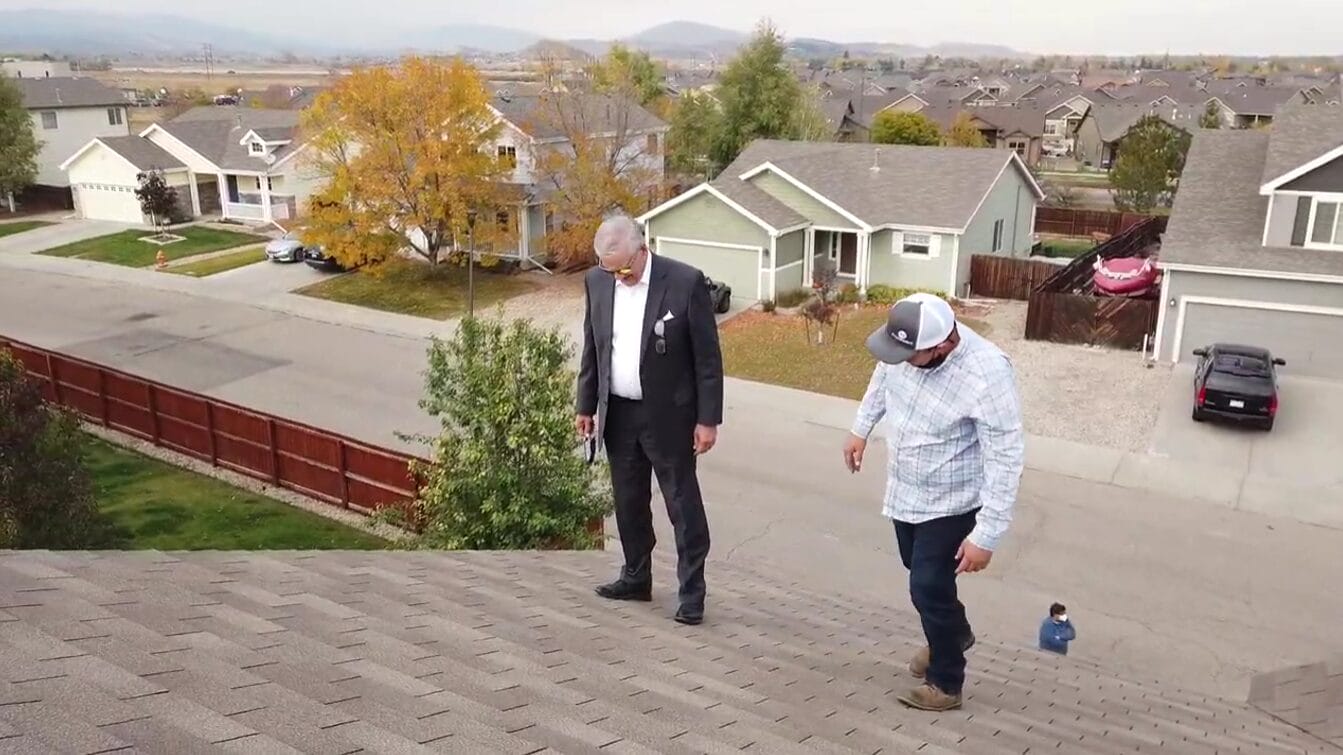
If you’ve lived in Colorado for any amount of time, you know that storms here don’t mess around. The Front Range alone sees some of the most intense hail activity in the entire country, and it doesn’t take a monster storm to do real damage to a roof. Even moderate hail can crack shingles, strip granules, and compromise the protective layer that stands between your home and the elements.
The good news is that most homeowner’s insurance policies cover storm-related roof damage. The bad news is that the claims process can be confusing, especially if you’ve never been through it before. Between adjusters, depreciation calculations, supplemental claims, and contractor selection, there’s a lot to navigate.
This guide is designed to walk you through the entire roof insurance claim process in Colorado, from spotting damage to collecting your final payment, so you go in prepared and come out with a fair settlement.
What Does Homeowner’s Insurance Actually Cover?
Before filing a claim, it helps to understand what your policy does and doesn’t cover. Most standard homeowner’s insurance policies in Colorado cover roof damage caused by sudden, accidental events, including:
- Hail and wind damage, which are by far the most common triggers for roofing claims in Colorado
- Snow and ice damage, including structural damage from heavy snow loads or ice dams
- Falling objects, such as tree limbs brought down by storms
- Fire damage
What insurance typically does not cover is damage resulting from wear and tear, aging, or lack of maintenance. If an adjuster determines that your roof was already in poor condition before the storm hit, it can affect your settlement or result in a denied claim. This is one reason why staying on top of routine roof maintenance matters beyond just the health of the roof itself.
RCV vs. ACV: Two Coverage Types You Need to Understand
One of the most important things to clarify before you ever file a claim is what type of coverage your policy includes. There are two main types:
Replacement Cost Value (RCV) pays the full cost to replace your damaged roof with new materials of similar kind and quality, minus your deductible. This is the more comprehensive coverage and the one most homeowners prefer.
Actual Cash Value (ACV) factors in depreciation based on the age and condition of your roof. If your roof is 15 years into a 30-year lifespan, you may only receive roughly half the replacement cost. ACV policies typically result in significantly lower payouts.
Many insurance companies in Colorado have shifted older roofs, particularly asphalt shingle roofs 20 years or older, to ACV coverage at renewal. It’s worth pulling out your policy documents and confirming which type of coverage you have before storm season arrives.
Understanding Your Deductible
Your deductible is the amount you’re responsible for paying out of pocket before your insurance kicks in. In Colorado, many policies now carry a separate wind and hail deductible that is often higher than the standard all-perils deductible.
In some cases, this deductible is a flat dollar amount. In others, it’s a percentage of your home’s insured value. A 1% deductible on a $500,000 home is $5,000. A 2% deductible is $10,000. If you’re not sure what your hail deductible is, now is a good time to find out, before you need it.
One important note: Colorado law requires homeowners to pay their deductible in full. Any roofing contractor who offers to waive or cover your deductible is engaging in insurance fraud. Legitimate contractors do not make that offer.
Signs Your Roof May Have Storm Damage
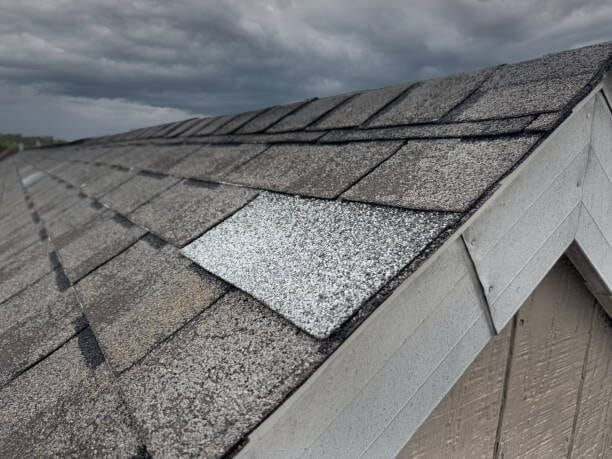
Not all storm damage is visible from the ground, but there are things you can look for after a significant weather event.
From the ground:
- Missing, lifted, or visibly cracked shingles
- Dark patches or discoloration on the roof surface
- Dented or damaged gutters, downspouts, and metal vents (a reliable indicator of hail impact)
- Shingle granules accumulating in gutters or at the base of downspouts
- Damaged or dented siding and window trim, which often correlates with roof damage during the same storm
From inside the home:
- Water stains on ceilings or walls
- Soft spots or discoloration in the attic
- Daylight visible through the roof decking
If you’re seeing any of these signs after a storm, it’s time to schedule a professional roof inspection. A licensed roofer can get on the roof, document the damage thoroughly, and give you a realistic picture of what you’re working with before you contact your insurer.
How to File a Roof Insurance Claim: Step by Step
Step 1: Document the Damage
Before you call anyone, take photos. Get clear shots of the damaged areas from multiple angles, and if you can safely photograph hailstones on the ground alongside a ruler or tape measure, that documentation can be helpful for sizing purposes. Photos with timestamps establish the connection between the storm and the damage.
Also check on any other areas of the property that may have been affected: gutters, siding, HVAC equipment, and skylights. The more comprehensive your documentation, the stronger your claim.
Step 2: Contact Your Insurance Company
Report the damage to your insurance company promptly. Most policies have deadlines for filing a claim after a storm event, often within one year, though this can vary by carrier. After large regional storms, some companies extend that window, but it’s always better not to wait.
When you call, have the following ready:
- Your policy number
- The date of the storm or weather event
- A general description of the damage
- Photos if you can submit them digitally
Your insurer will assign a claim number and schedule an adjuster to come out for an inspection.
Step 3: Schedule a Professional Roof Inspection
Before or around the same time as the adjuster visit, schedule an inspection with a reputable, local roofing contractor. Having your own professional assessment gives you a comparison point for the adjuster’s estimate and ensures nothing gets overlooked.
A good roofing contractor will document all damage in detail, including items that are easy to miss during a quick adjuster visit. This documentation becomes valuable if you need to dispute a low initial estimate or file a supplemental claim later.
Step 4: Meet with the Insurance Adjuster
An insurance adjuster will be assigned to inspect your property and write an estimate for the cost of repairs or replacement. This is an important step, and it’s worth being present during the inspection.
If your roofing contractor is available to walk the roof with the adjuster, that is even better. Contractors who are experienced with the insurance claims process know what to point out and how to communicate damage in terms adjusters understand. Items that get missed at this stage can be harder to recover later.
Step 5: Review the Settlement Offer
Once the adjuster completes their inspection, your insurance company will send a settlement offer. This document outlines what they’re willing to pay and breaks down how they calculated it.
Read it carefully. Specifically, look for:
- Whether the full scope of damage is addressed
- How depreciation was applied
- What your recoverable depreciation amount is (if you have RCV coverage)
- Whether code upgrade costs are included
Initial estimates frequently fall short of the actual cost to complete the work properly. Missing line items, undervalued materials, and overlooked damage are common. This is not always intentional, but the result is the same: you receive less than your policy entitles you to.
Step 6: Work with Your Contractor to Address Gaps
If your roofing contractor’s estimate differs significantly from the adjuster’s, don’t simply accept the lower number. A reputable contractor can help you understand the discrepancy and, if warranted, prepare a supplemental claim.
A supplement is additional documentation submitted to your insurance company requesting fair coverage for work that was missed or undervalued in the initial estimate. Many homeowners aren’t aware that supplements exist or that they’re a routine part of the claims process. An experienced roofing contractor who works regularly with insurance claims will handle this as a standard step, not an exception.
Step 7: Select Your Contractor and Schedule the Work
Once the scope of work and payment are agreed upon, it’s time to select your contractor and get on the schedule. You are not required to use a contractor recommended by your insurance company. You have the right to choose your own licensed, insured roofer.
Be cautious of contractors who appear at your door immediately after a major storm. While not every door-to-door solicitation is dishonest, storm chasers who travel from market to market after weather events are a well-documented problem in Colorado. They often collect deposits, do shoddy work, and disappear before you realize there’s a problem. Stick with local, established contractors who have a verifiable track record in your area.
Step 8: Complete the Work and Collect Recoverable Depreciation
Once the roof replacement is complete, submit the final invoice to your insurance company. If you have RCV coverage, this triggers the release of the withheld depreciation amount. This is money your insurer has been holding back until the work is done, and it can be a significant portion of your total claim.
Make sure you understand this step before the project begins. Some homeowners don’t realize the depreciation holdback exists and miss out on funds they’re owed simply because they didn’t submit the final paperwork.
The Roof Replacement Process: What to Expect
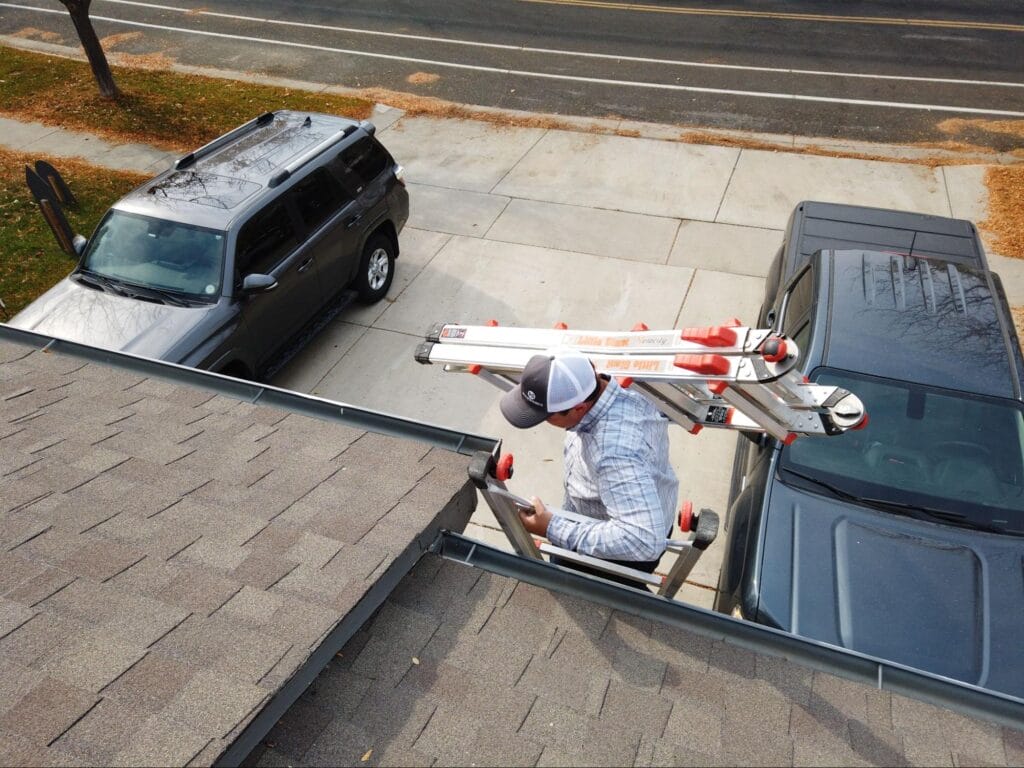
Once your claim is approved and you’ve selected a contractor, here’s what the actual roof replacement process typically looks like:
- Material selection. You’ll choose your shingle type, color, and any upgrades. Your insurance will cover the cost of replacing what you had. If you want to upgrade to a higher-tier material, the difference comes out of pocket.
- Permit pulling. Your contractor should pull the necessary permits with your local municipality before work begins.
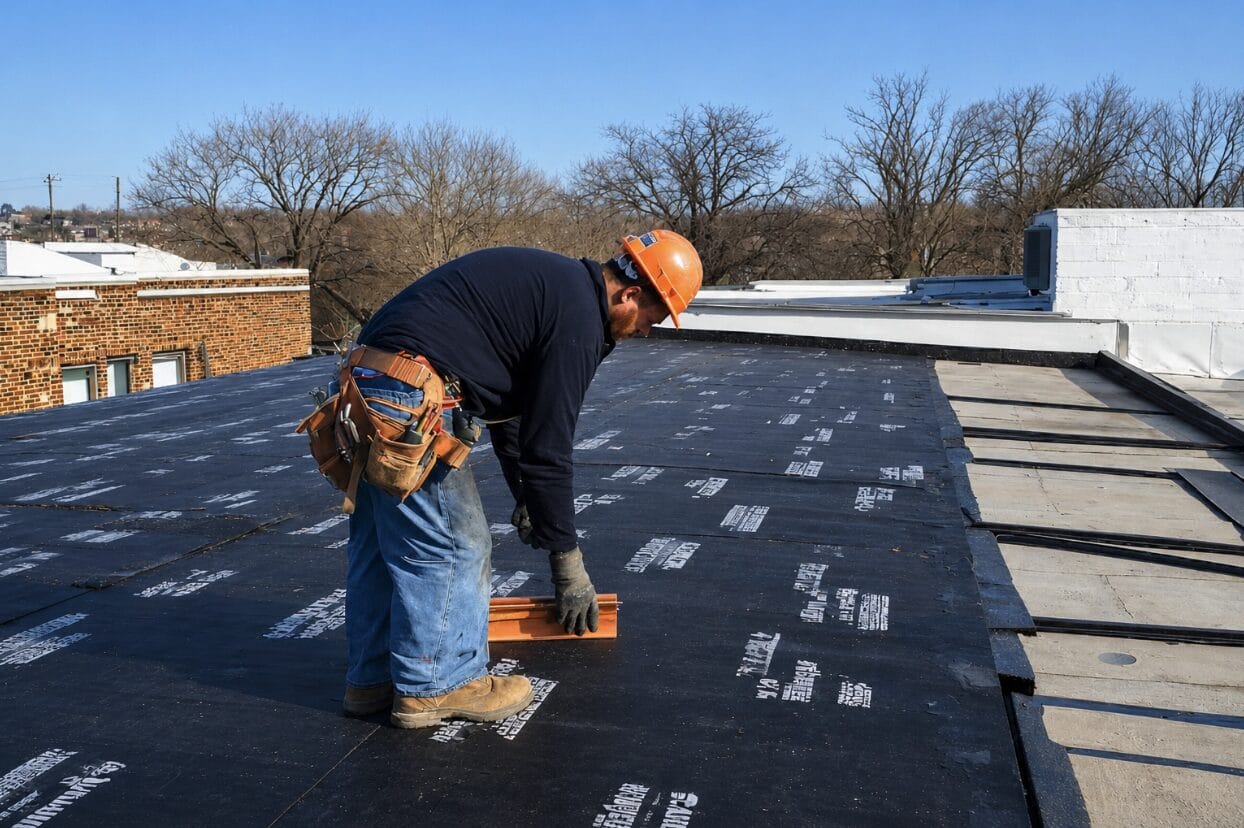
- Tear-off. The old roofing material is removed down to the decking, which is then inspected for soft spots or rot.
- Decking repairs. Any damaged decking is replaced before new materials go on.
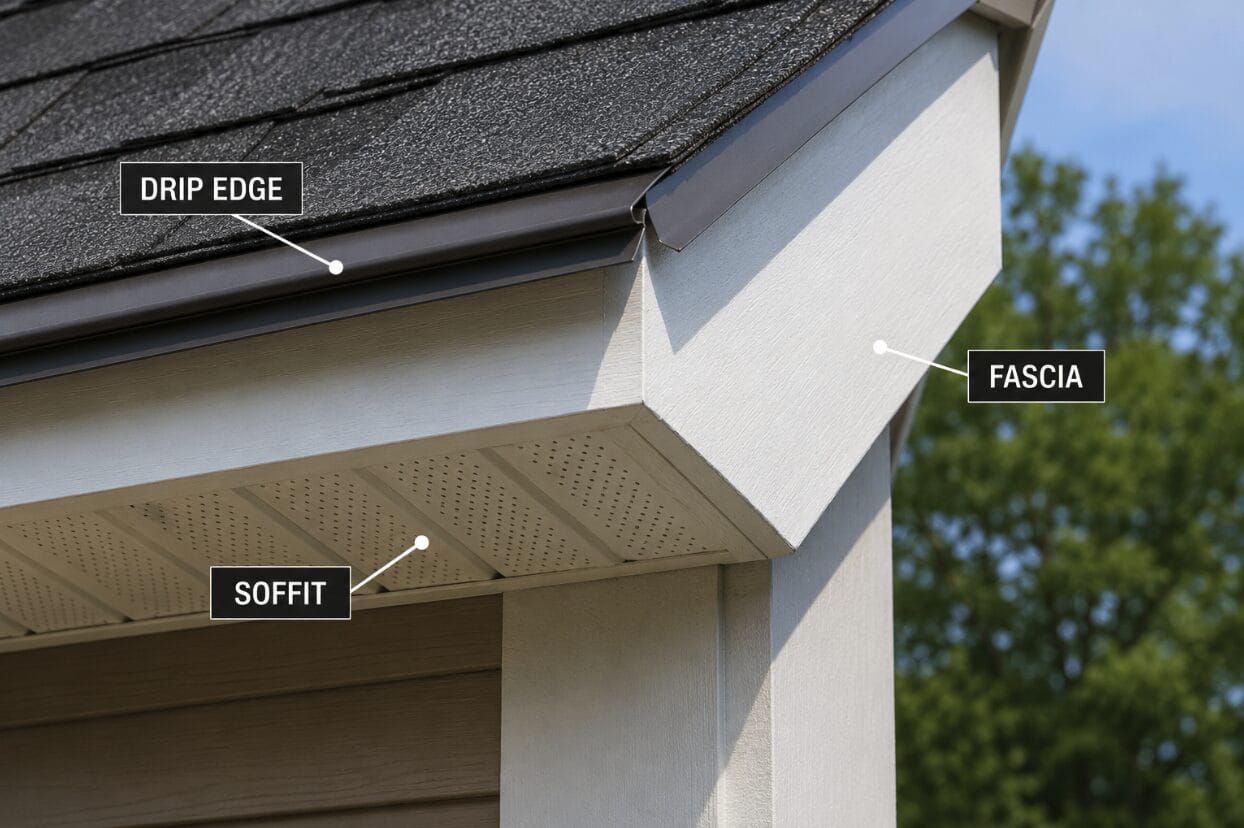
- Installation. Underlayment, ice and water shield, shingles, flashing, ridge cap, and venting are all installed per manufacturer specifications.
- Cleanup and final walkthrough. The crew removes debris, sweeps for nails, and does a final inspection with you before leaving.
- Warranty registration. Your contractor should register your manufacturer’s warranty on your behalf.
For most average-sized homes, a full roof replacement takes one to two days under good weather conditions.
Red Flags to Watch Out For
Filing an insurance claim puts a target on your back for contractors who aren’t operating with your best interests in mind. Here are some warning signs to watch for:
- Offers to waive your deductible. This is insurance fraud, period.
- Pressure to sign a contract before your claim is approved. A legitimate contractor will not ask you to commit before you know what your insurance will cover.
- No local address or verifiable history. If a contractor can’t point you to completed jobs in the area or provide local references, that’s a problem.
- Requesting full payment upfront. Standard practice is a deposit followed by final payment upon completion.
- Unlicensed or uninsured crews. Always ask to see certificates of insurance before any work begins.
How a Roofing Company Can Help with Your Insurance Claim
Working with an experienced roofing contractor from the start can make a meaningful difference in how your claim unfolds. A contractor who regularly works with insurance claims can:
- Conduct a thorough pre-claim inspection and document all damage professionally
- Attend the adjuster meeting and advocate for a complete and accurate scope of work
- Identify discrepancies between the adjuster’s estimate and the actual cost of the job
- Prepare and submit supplemental documentation when needed
- Guide you through the paperwork involved in collecting your recoverable depreciation
This is one area where choosing the right contractor matters beyond just the quality of the installation work.
Let Roof Source Help You Through the Process
Dealing with a damaged roof is stressful enough without having to navigate the insurance process alone. At Roof Source, we have extensive experience working alongside insurance adjusters, preparing thorough documentation, and helping Colorado homeowners get the coverage their policies provide.
If you’ve experienced storm damage or want a professional assessment before filing a claim, we’re here to help.
Schedule Your Free Roof Inspection Today!
Frequently Asked Questions
How do roof insurance claims work in Colorado?
After a storm, you document the damage, notify your insurance company, and have both an adjuster and a professional roofer inspect your roof. The insurer issues a settlement offer based on the adjuster’s estimate. A good contractor can help you review that estimate, address any gaps, and file supplemental documentation if the initial payout falls short.
How long do I have to file a roof damage insurance claim in Colorado?
Most policies give you one year from the date of the storm to file a claim, though this varies by carrier. After major regional storm events, some insurers extend this window. Contact your insurance provider as soon as possible after discovering damage to confirm your timeline.
Should I call a roofer or my insurance company first?
If the damage is severe and your home has an active leak, call a roofer first to prevent further damage. Otherwise, reviewing your policy and contacting your insurance company early is a reasonable first step. Either way, getting a professional roof inspection early in the process is important for building a strong claim.
What is a roofing supplement and do I need one?
A supplement is additional documentation submitted to your insurance company when the initial estimate doesn’t fully cover the cost of the work required. Many homeowners don’t know supplements exist. An experienced roofing contractor will evaluate the adjuster’s estimate and prepare a supplement if the numbers don’t add up.
What is recoverable depreciation?
If you have Replacement Cost Value (RCV) coverage, your insurance company holds back a portion of your payout until the work is completed. Once you submit a final invoice showing the project is done, they release the remaining funds. This is called recoverable depreciation, and it can represent a significant amount of money.
Can a roofing contractor waive my insurance deductible?
No. Colorado law requires homeowners to pay their deductible in full. Any contractor who offers to waive it is engaging in insurance fraud. This puts both the homeowner and the contractor at legal risk and is a clear sign to walk away.
What if I disagree with my insurance company’s settlement?
Start by having your roofing contractor review the adjuster’s estimate in detail. If there are legitimate discrepancies, your contractor can prepare supplemental documentation to support a revised settlement. If the dispute can’t be resolved through that process, your policy may include an appraisal or dispute resolution clause you can invoke.

Published on
March 19, 2026
There are no blocks availables